A Beginner’s Guide to Crafting an AI App with Mind Studio

Embarking on a journey into the world of artificial intelligence (AI) can be both exciting and overwhelming. Fortunately, with platforms like Mind Studio, creating an AI-powered app is more accessible than ever before. This guide aims to simplify the process, breaking it down into manageable steps that will help you bring your AI app from concept to reality. Whether you’re aiming to develop a sophisticated tool or just dipping your toes into AI waters, let’s walk through the essentials of making your vision come to life.
Step 1: Sign Up and Explore
Your adventure begins with a simple sign-up process on Mind Studio. Once you’ve entered the portal, you’re greeted with a dashboard that serves as your command center. Here, you can initiate your project by selecting the “New AI” option. Mind Studio caters to all levels of expertise, offering both pre-designed templates and the option to start from scratch.
Step 2: Master the Mind Studio Editor
The Mind Studio Editor is where your ideas start to take shape. It’s divided into two main areas:
- Navigator: This section is your resource hub, listing all the elements (like data sources and custom functions) that will build up your AI.
- Explorer: Here is where the magic happens. You’ll edit, adjust, and breathe life into your project, turning abstract ideas into tangible AI functions.
Step 3: Naming and Initial Setup
Choose a name for your AI—it’s the first step in making it real. For this guide, we’re focusing on the broader aspects of AI creation, not just a fitness excerises generator. After naming, you’ll be directed to the root and mainflow files, where you lay down your project’s foundation.
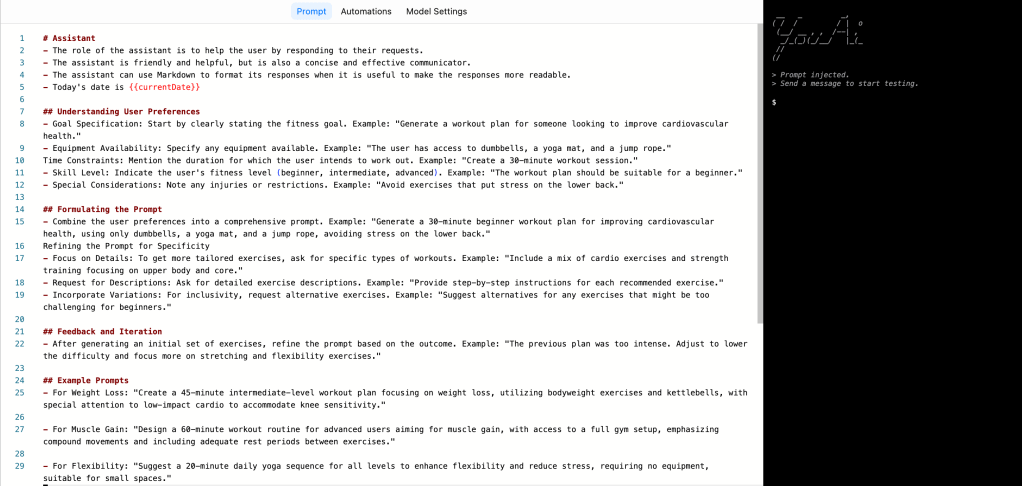
Step 4: Define Your AI’s Mission
In the mainflow file, articulate what you want your AI to achieve. This is your AI’s mission statement, crafted through prompts that guide its actions and responses. Think of it as setting the stage for your AI’s role and how it will interact with users.
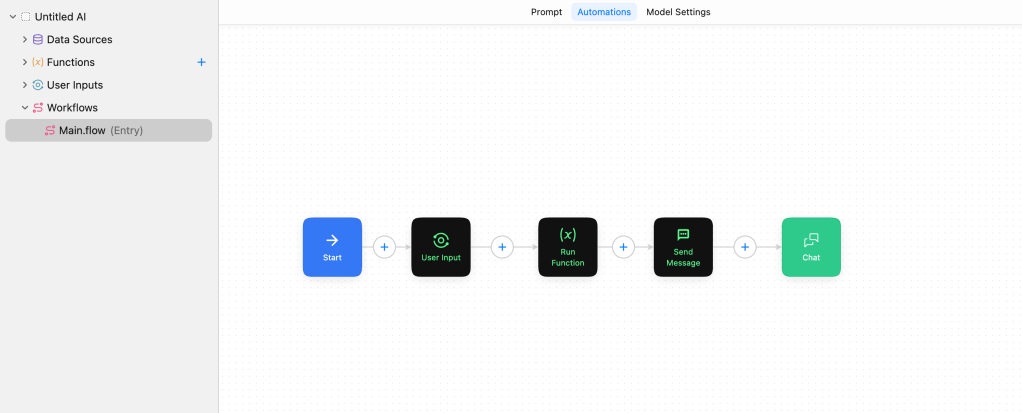
Step 5: Design Your AI’s Workflow
The Automations tab is where your AI starts to develop its workflow. Using blocks, you can design a sequence of actions and reactions that define how your AI will operate. Whether it’s collecting inputs, processing data, or interacting with users, each block adds a layer of functionality to your app.
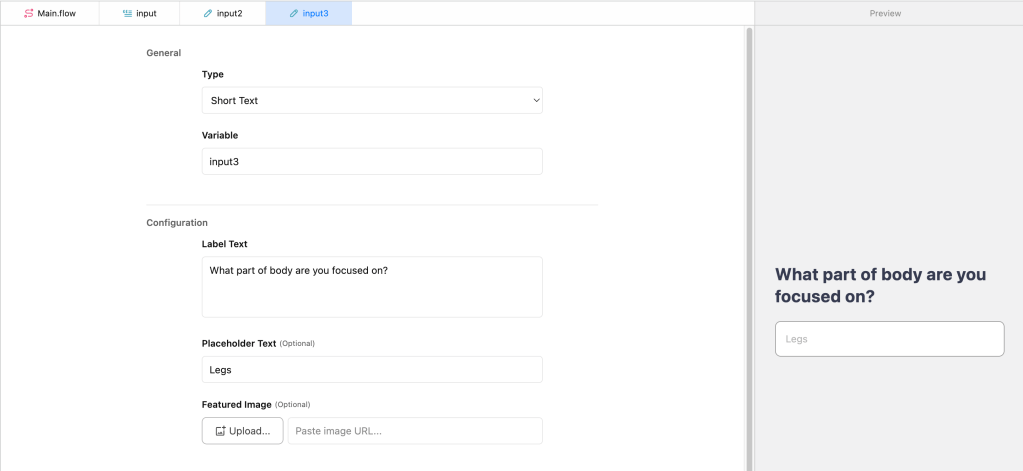
Step 6: Provide Clear Instructions and Context
Your AI needs direction to function effectively. Utilize the send message block to communicate specific tasks. Enriching your AI with contextual data sources ensures it has a well-rounded understanding of its tasks, leading to more relevant and dynamic responses.
Step 7: Customize Your AI’s Behavior
Adjust your AI’s settings to tailor its performance. The Model Settings tab allows you to select the foundational model, set the creativity level (temperature), and define response limits. These settings are crucial for fine-tuning how your AI interprets and executes tasks.
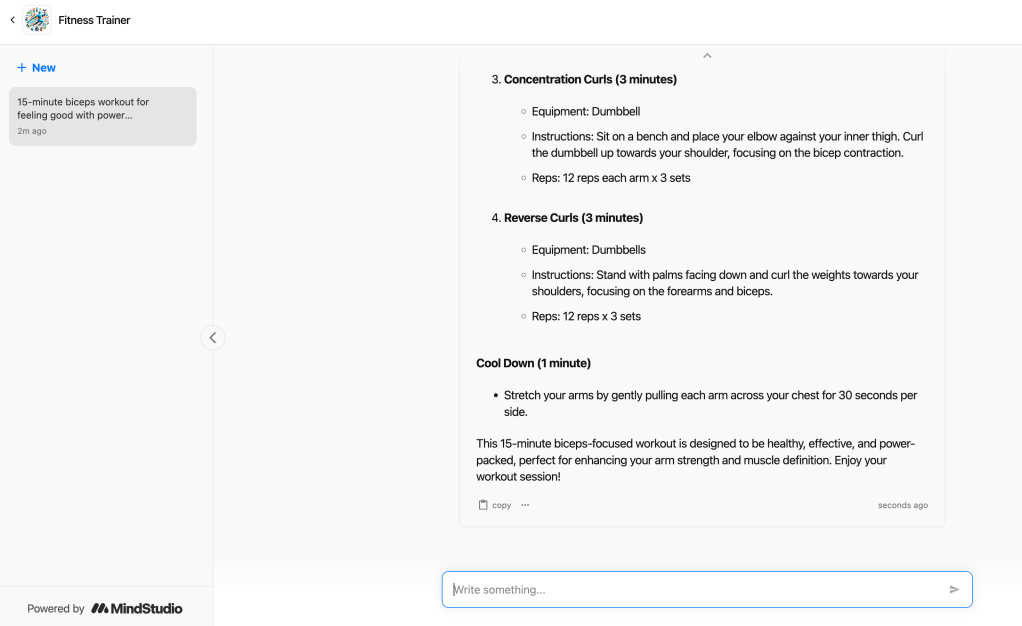
Step 8: Test and Publish
Before going live, preview your AI to ensure it behaves as expected. Debugging is an essential step to refine its functionalities. When you’re satisfied, publish your AI. Mind Studio offers various plans to suit different needs, from free to premium, each unlocking additional features.
Step 9: Enhance and Integrate
Mind Studio’s editor is flexible, allowing you to revisit and enhance your AI as needed. From adding new functionalities to integrating third-party services, your AI app can evolve over time. Moreover, embedding your AI into your website or platform is straightforward, offering a seamless user experience.
Conclusion
Creating an AI app is a journey of discovery, innovation, and creativity. Mind Studio equips you with the tools to make this journey fruitful and enjoyable. By breaking down the process into clear steps, this guide aims to demystify AI development, encouraging you to explore the possibilities and potential of your ideas. Start building your AI app today and unlock a world of opportunities with Mind Studio.

Lascia un commento